A note about links: If we include links to retail sites like Amazon or elsewhere, it's because we either use the items ourselves in our own shop or they're relevant to the topic. As an Amazon Associate we earn from qualifying purchases.
Here’s the fast and simple routine I do to get new colorants ready before I use them for the first time. I realize it seems like prepping a bottle of colorant is a pretty straightforward thing to do, but there are a few tips and gotchas to look out for that I hope will help beginners.
What you need
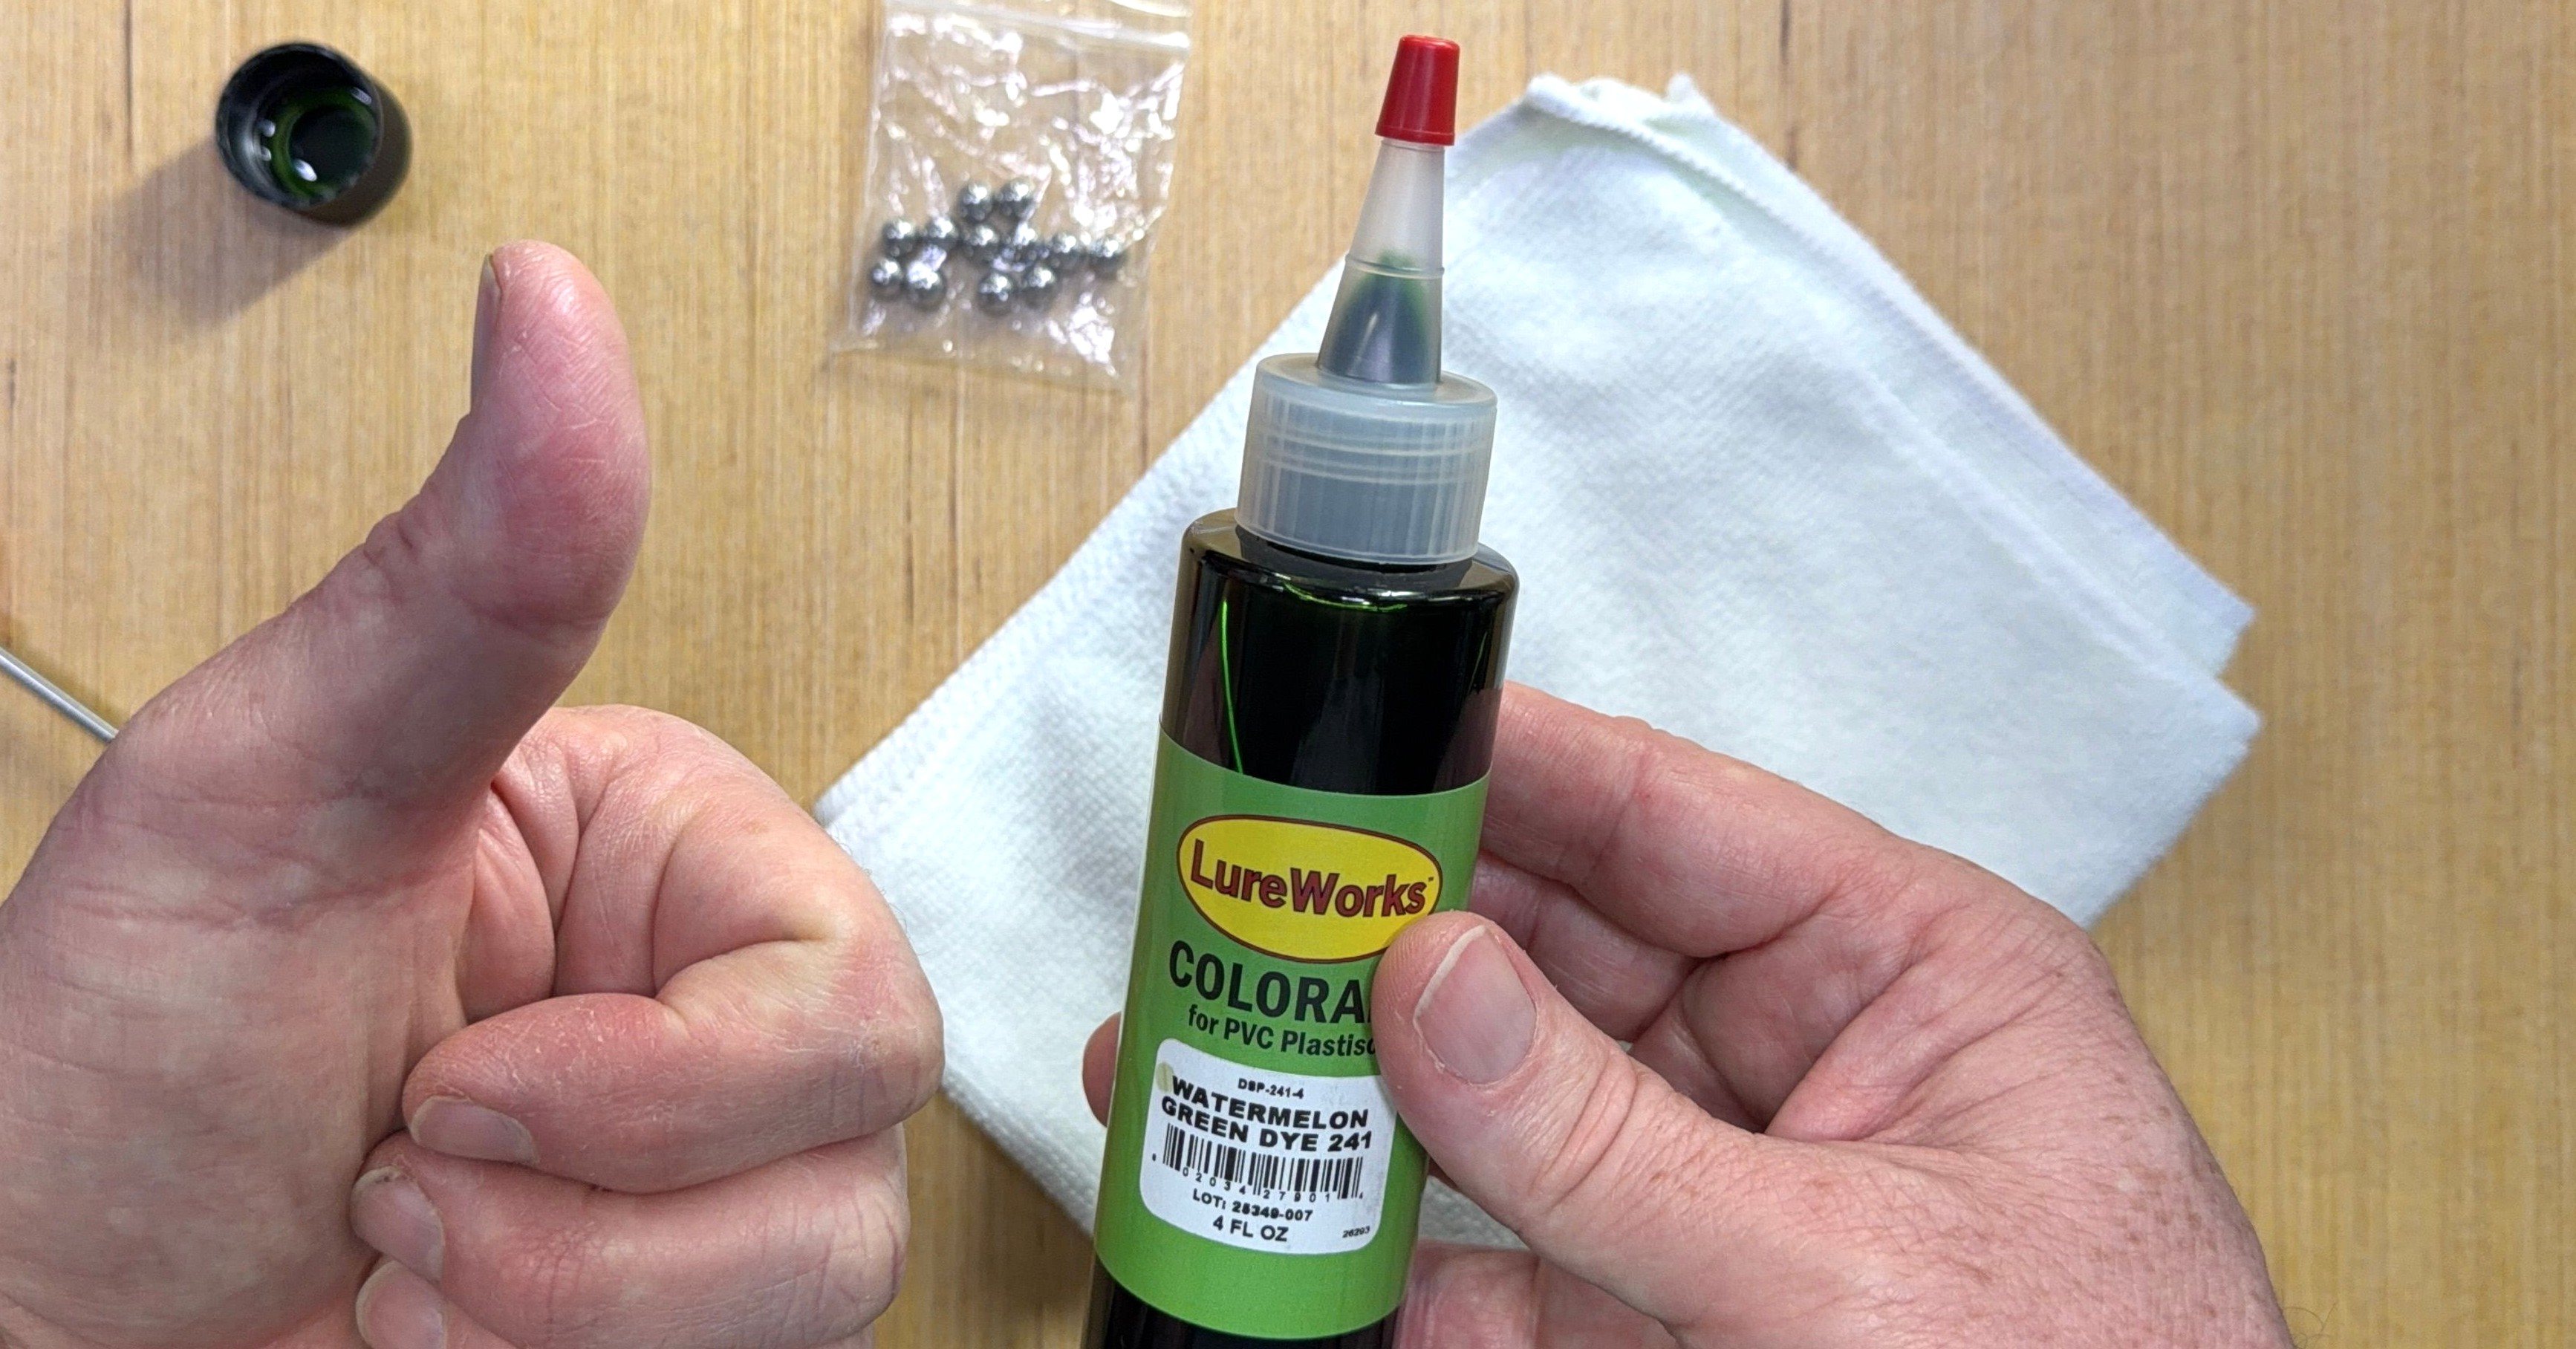
- A new bottle of colorant. This one is LureWorks Watermelon Green Dye 241, a 4 oz bottle.
- A nozzle cap with a tip cap. It comes with the colorant.
- Ball bearings. They help mix the colorant when you shake the bottle before use. Mine came from a kit I got on Amazon. I use the larger 7mm and 8mm ones, one per bottle.
- A small metal rod, preferably with a pointed tip. I use my probe thermometer because it’s always on hand, the point makes it easy to penetrate the plastic, and I get a consistent-size hole in every bottle.
- A microfiber cloth or your shop towel of choice. It’s used when shaking the bottle before each use, so you don’t fling colorant everywhere (speaking from experience), and to wipe the bottle down, because many colorants seem to travel up and out of their bottles, some far worse than others.
Prep the bottle
- Take the stock cap off and carefully pull out the inner protector lid if it contains one. Don’t force it, or you’ll have a freshly spatter-dyed shirt you didn’t plan for.
- Drop in a ball bearing (or a small nut, if you have some on hand). I use 7 to 8mm.
- Screw on the nozzle cap and tighten it firmly to prevent leakage.
- Take the tip cap off and carefully poke the nozzle tip open with the probe thermometer or a similar item. Use the cloth or rag to wipe off any colorant that may find its way onto the shaft of whatever tool you used.
- Put the tip cap back on, and you’re ready to go.
Now go make some killer colors without turning your shop or shirt into a piece of modern art! While you’re here and ready to create, I recommend downloading the free Bait Color Formulation Kit to make that easier too.