A note about links: If we include links to retail sites like Amazon or elsewhere, it's because we either use the items ourselves in our own shop or they're relevant to the topic. As an Amazon Associate we earn from qualifying purchases.
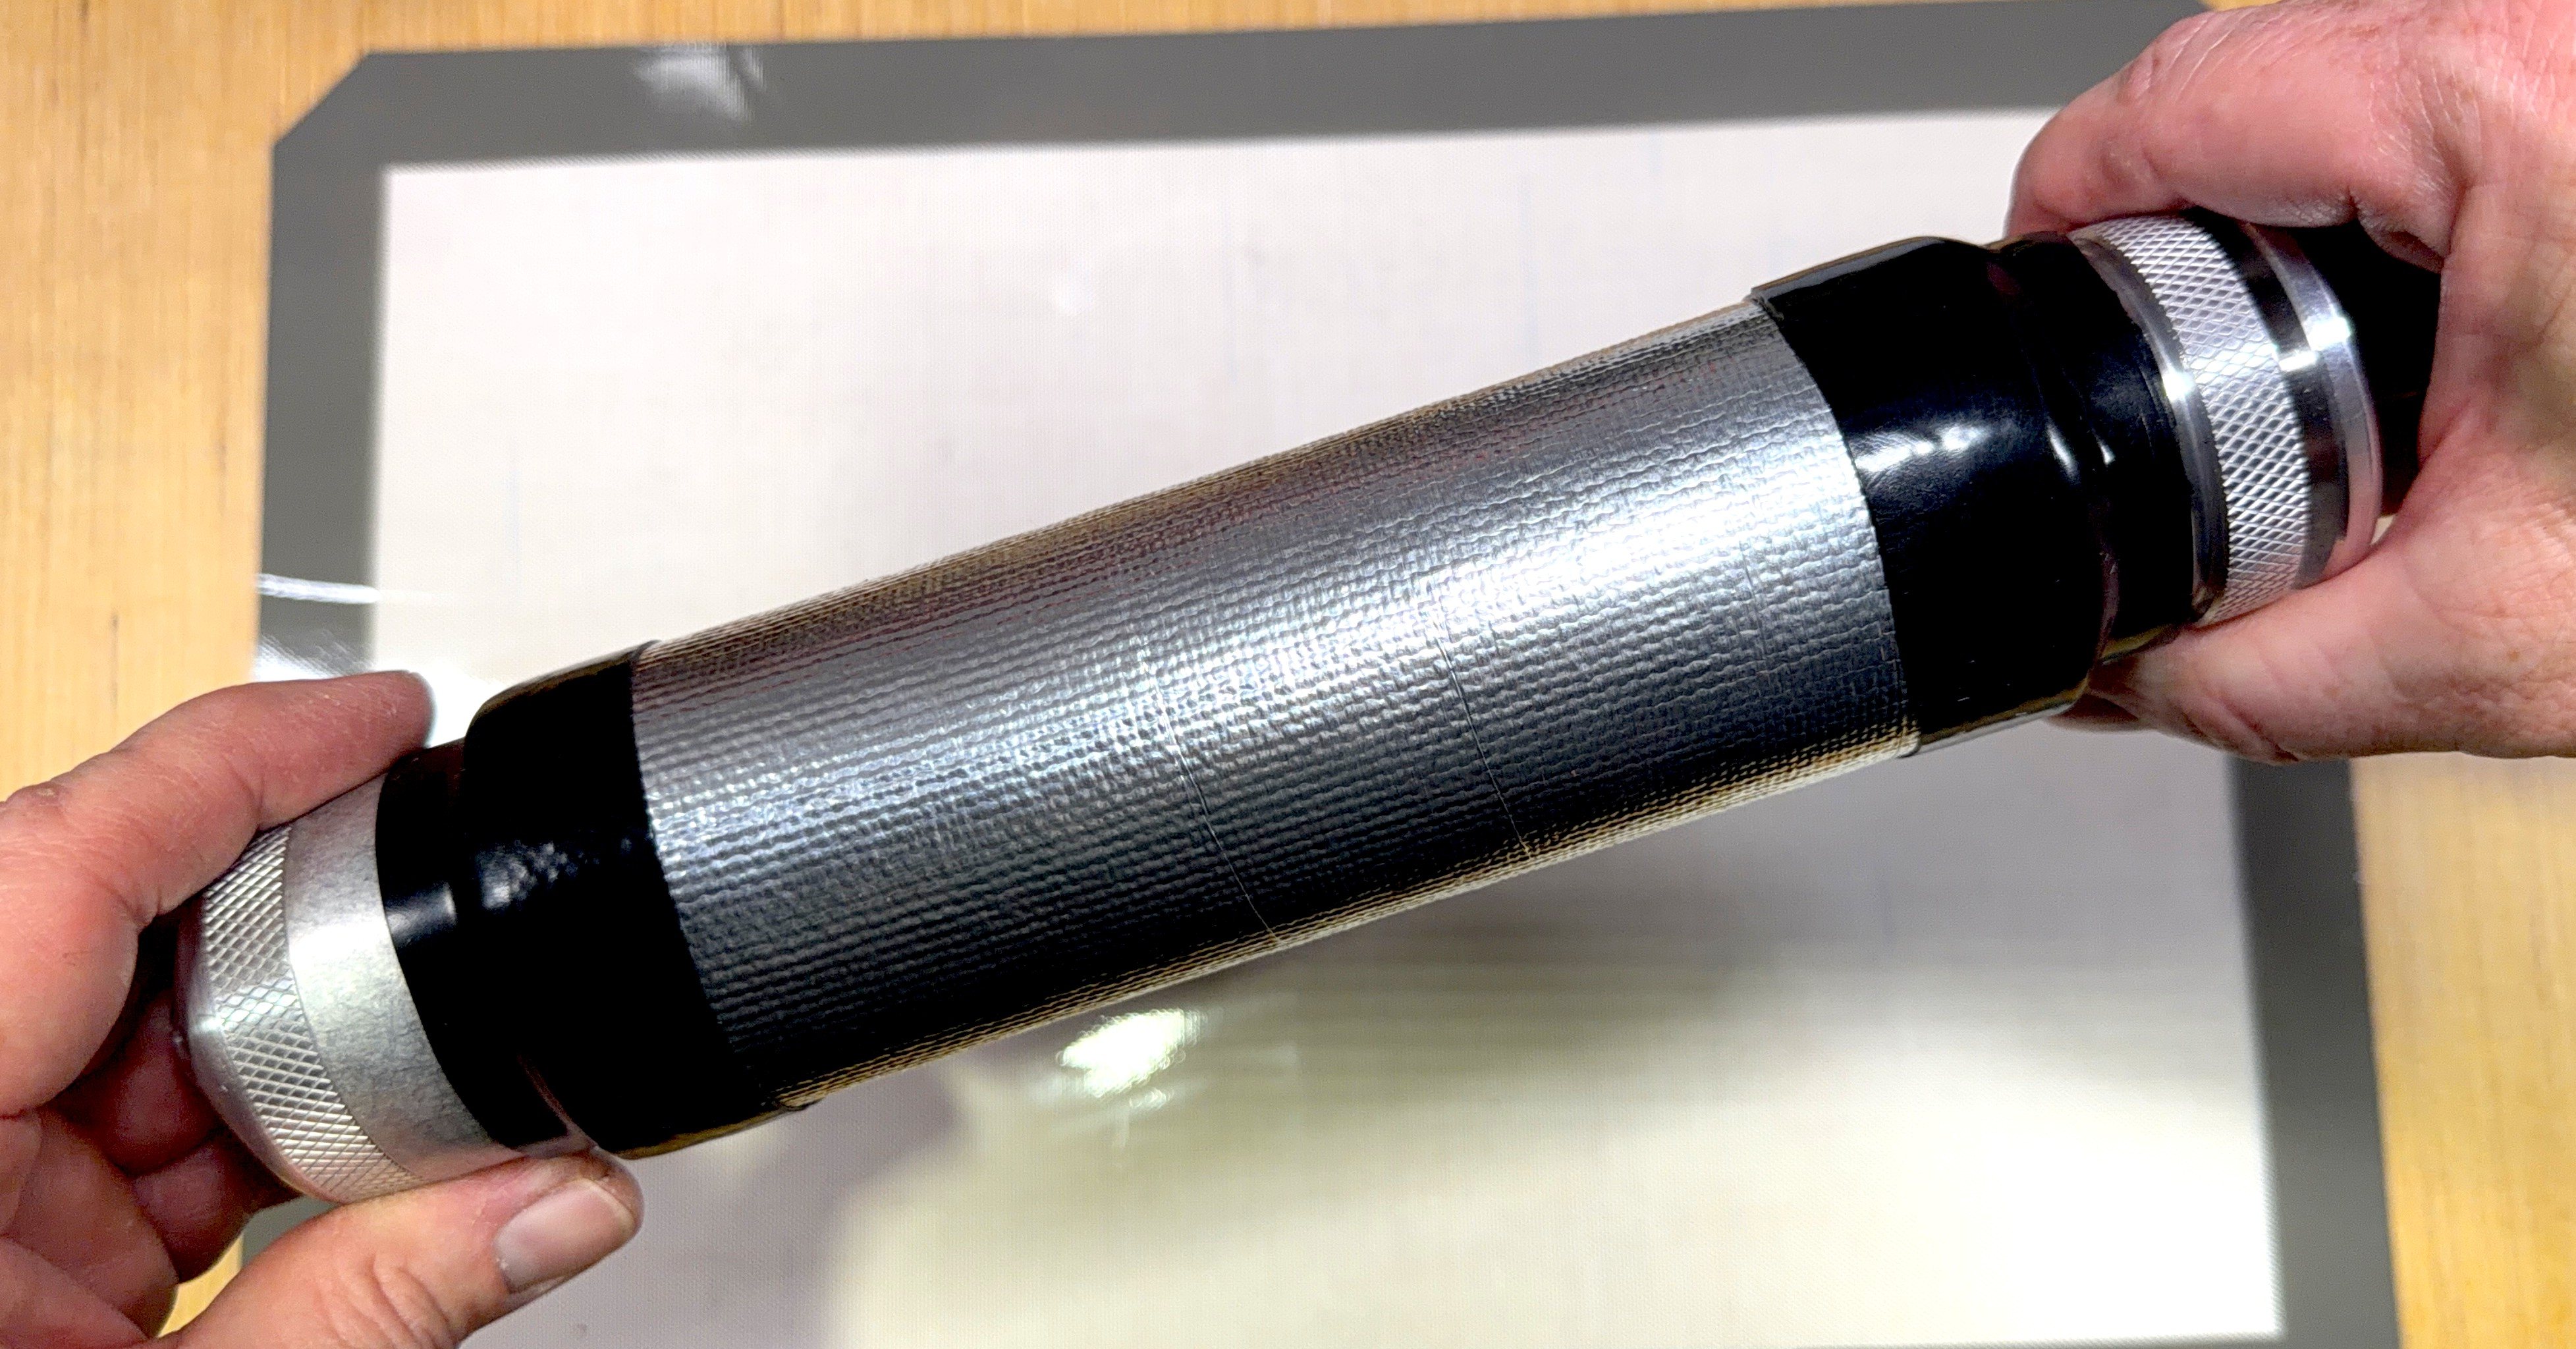
Heat sleeves keep the plastic in your injectors hotter for longer, giving you more time in your target shooting temperature range, which means more consistent and predictable results. They also keep the outside of the barrel cooler during and after shooting, making your injectors much easier to handle. I make my own with materials anyone can pick up on Amazon, and here I’ll walk you through making your own.
How they work
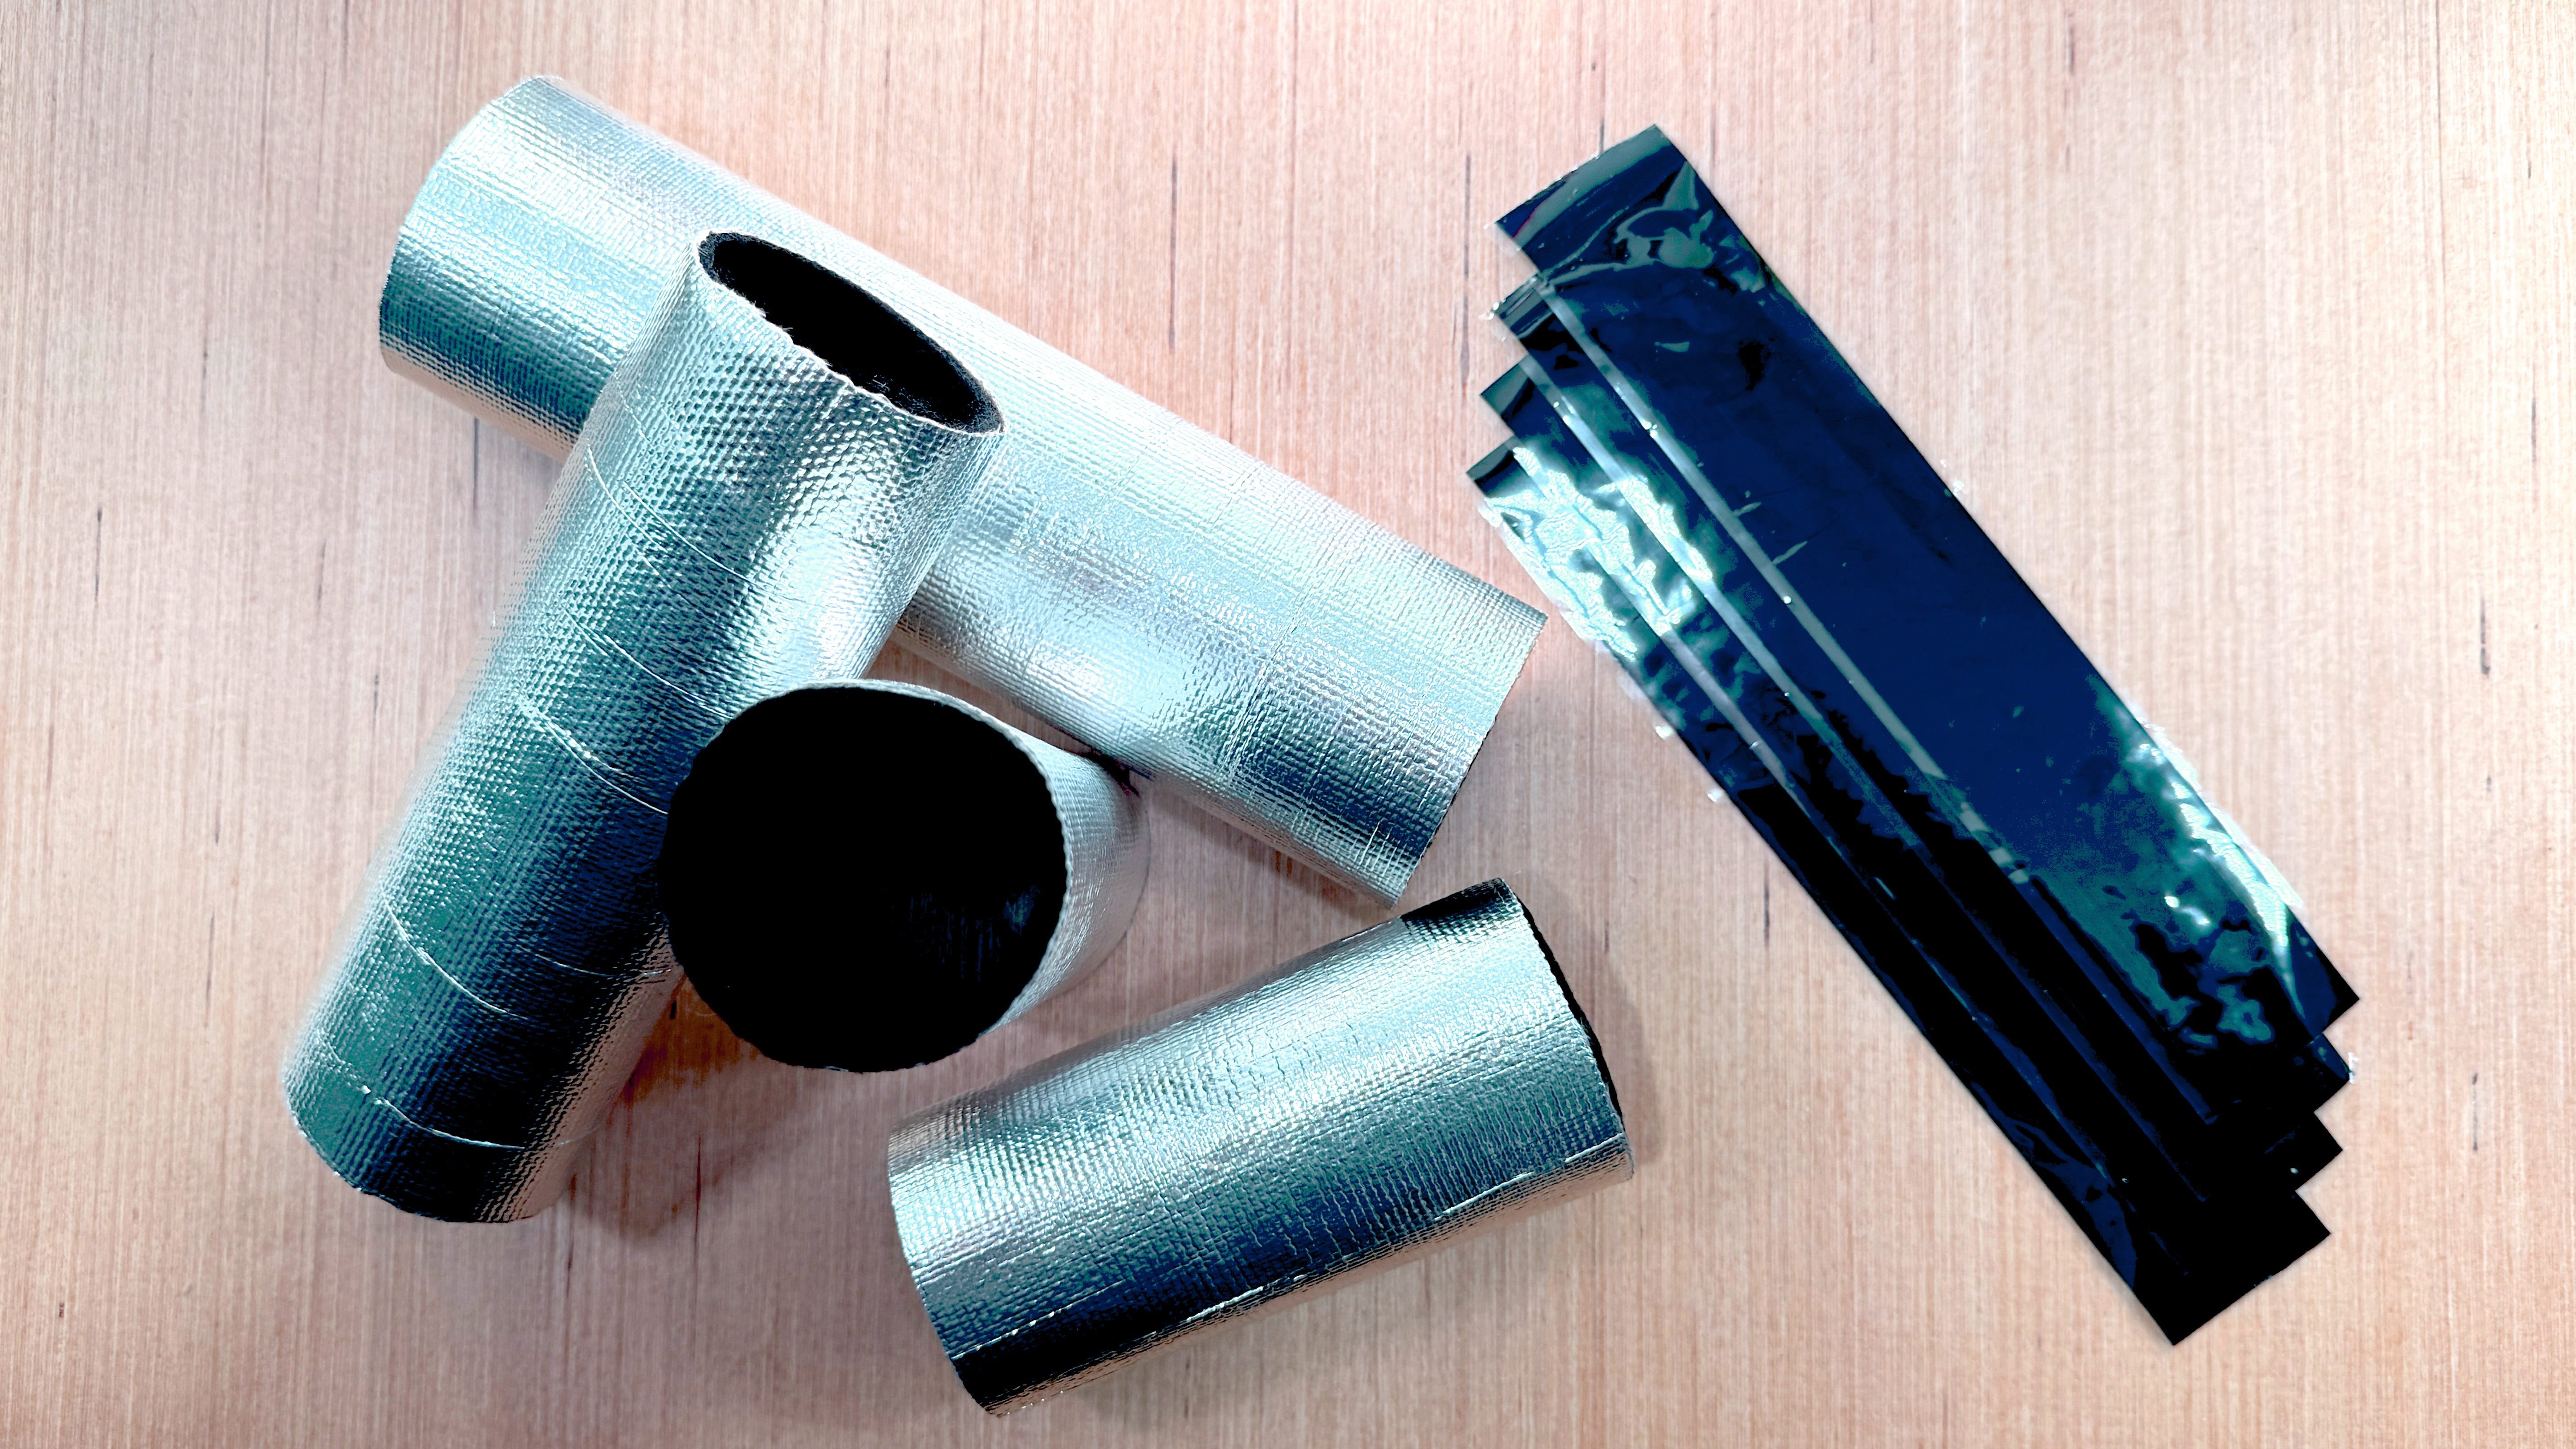
Each sleeve combines a piece of reflective heat shield with an insulating carbon felt liner. The insulation keeps the heat in the barrel, while the heat shield forms a skin that further retains heat inside and keeps the surface cooler for handling.
For injector styles that need it, the silicone tape holds the sleeve in place at the ends while protecting the carbon felt liner from absorbing hot plastic.
It’s a simple yet very effective design that aids in regulating heat both inside and out.
Build your own
Or if you’d rather just order some premade, we’ll make them for you: see our heat sleeve kits below.
Materials
- Adhesive heat shield. I got this 24” x 40” sheet: reflective aluminum on one side, peel-and-stick fiberglass on the other, and it cuts with scissors so you can fit it to your injectors as needed. You’ll have plenty to do multiple injectors with a sheet this size.
- Carbon felt for the liner (3mm-5mm thick). Carbon felt insulates far better than the thin woven fiberglass sheets, PTFE (Teflon), silicone, or foil heat shield most bait makers wrap with. It’s rated far above pour temperature, easily cuts to fit any barrel, and doesn’t itch like thicker fiberglass batting. I get these 3.5mm blankets and cut to fit my injectors.
- Self-fusing silicone tape, black, 1.5” wide. I use this roll, the same one I use on the Crossbow. Two strips per sleeve, one for each end.
Tools
- A square or ruler to measure and keep things straight.
- A marker to make your cut lines.
- Scissors or heavy-duty shears that can handle the thickness of the carbon felt.
- Sharp barber/hair shears or scissors for trimming any felt sticking out.
Measure and cut the carbon felt
Measure and cut the carbon felt first so you can account for its thickness later when sizing the heat shield.
This will vary depending on your injectors, so I am going to paint broad strokes with instructions and just get specific about my injectors as an example. The method I used to get my measurements so they’re as accurate as I could get them:
- Measure the length of your injector barrel from end to end.
- Subtract for tape clearance. For traditional injectors, you’ll likely want to subtract for silicone tape clearance above the bayonet latch and below the top plate. For my trusty N2 Series 2s, I subtract 1 1/2 inches total (giving me 3/4 inch of clearance on both top and bottom) so the tape has room to seal on both sides without interfering with the injector mechanics. For those of you who dip your injectors in plastic before shooting, this amount of clearance also keeps your sleeves out of the hot plastic.
- Cut the felt to length. Lay the felt flat, then measure to the length you determined in the step above. Since I did sleeves for multiple injectors of the same type, I just went ahead and cut a piece of felt across the entire width of the felt sheet with my shears. This makes the next step easier, too.
- Roll the barrel in it and snip. Place your injector on one edge of your cut piece lengthwise, and roll it in the felt until the end of the felt comfortably wraps the entire injector barrel. Take some shears and make a little snip where the felt meets itself so you know where to make your next cut.
- Mark and cut. Get your ruler (preferably a square to keep things a little straighter) and mark a straight line down the felt using your snipped spot as your starting point. I just held the square down firm on top of the felt and then folded the felt around the edge of the square to form a crease to use as my cut line. Cut down to the other end, and you now have your inner layer ready to go.
For my N2 Series 2 singles, the felt works out to be about a 7 x 7 inch square. I was overly cautious with the length during my first stab at it, which is why you’ll see a little extra felt that I had to trim popping out the top in the pictures below.
Measure and cut the heat shield
- Cut the heat shield to length. You should already have your length based on your felt measurements. For my N2 Series 2 singles, 7 inches proved to be the winner, so I repeated what I did with the felt and just marked a 7-inch line across the entire width of the heat shield with my marker and used my shears to get a 7-inch strip I can use for multiple injector sleeves.
- Add two inches (more if you want to ensure a more secure wrap job) to the width of your felt strip, and that gives you the width of your aluminum heat shield. For my N2s, it’s 9 inches.
- Use your ruler or square and marker to make your cut line, then grab your shears and cut out your heat shield. For the N2, you should have a 7 x 9(ish) piece ready to go.
Line it and roll it on
- Peel the backing off the heat shield, and place it sticky side up.
- Lay the carbon felt liner on the sticky side, aligned along the leading edge width-wise, and press it down along the edge so it sticks, with the bulk of the felt still up and free so you can use your hand to smooth it and keep lumps out as you lay it down. The 2+ inches of heat shield with adhesive exposed should be uncovered along the trailing edge.
- Set the barrel lengthwise on the liner along the leading edge and roll it up snug like a burrito or sushi roll, liner against the barrel and aluminum facing out, until that uncovered strip seals the sleeve closed.
- Squeeze the barrel firmly where the adhesive is wrapping the heat shield to make sure you have strong adhesion.
- Trim any liner sticking out past either end if it bothers you. I used my sharp barber shears for this. The silicone tape will cover it on most injectors, so this is mostly optional unless you really overestimated the length of your carbon felt piece. Shooting Star injectors require a little more precision.
Tape the ends
For the silicone tape, you’ll want enough to overlap so it sticks to itself, just like the heat shield wraps, but you must stretch it tight when wrapping so it seals the outer edges along the barrel on the top and bottom. Keep in mind that you’ll gain an extra half inch or more in length as you wrap. I went with 9 inches to match the heat shielding, but I could have easily gone with 8 to 8 1/2 inches. The key is making sure it stays tight as you wrap.
- Peel the backing off a strip of silicone tape. Be careful not to let it touch itself, because it’ll potentially ruin the piece of tape.
- Hold it firmly in place along the edge of your sleeve and barrel with your thumb so that it’s centered down the middle and overlaps both the sleeve and the barrel.
- Continue to hold it firmly in place on both the sleeve and the bare barrel while you stretch and wrap it so that the silicone conforms to the shape of the sleeve’s edge and forms a seal.
- When the silicone tape fully wraps the barrel tightly and meets itself, carefully continue to stretch it while you stick it to itself. Don’t expect it to be exactly straight here: as long as it’s tight around the barrel and seals against itself, it’s right.
- Do the same on the other end, then snip off the extra if it bothers you or accidentally overlaps any injector hardware while wrapping (injector end cap or bayonet latch connector being possible examples on the N2).
Fits almost any injector
These can be made for practically any injector. I’ve made them for my N2 Series 2 single injectors and the 8 oz Shooting Star injectors from Ultra Molds. The one in the build photos above is an N2 Series 2 single.
For Shooting Star injectors, you don’t really need the silicone tape, since the top and bottom plates that house the barrels keep the sleeve in place. You could definitely add tape where it just overlaps the narrow width of those plates if you prefer, but I don’t.
I even modified this style of sleeve for standard dual injectors by just taping on the bottom, since the dual injector crossbar holds it in place on top. I’ve verified it works with N2’s SDG-style blending block, although it did feel a little awkward the first couple of times.
If you’re using a Crossbow rack, you’ll need to adjust the arms a smidge to account for the added girth of the barrel sleeves.
Heat sleeve kits
Assuming you already have a good pair of shears on hand to cut through fiberglass sheets and carbon felt, buying the materials you’ll need to make your own will cost you somewhere between $45 and $65 on Amazon as of November 2026, and you’ll have enough raw materials to make roughly 10 sleeves that’ll fit injectors that are around the same size as an 8 oz N2 single injector. Enough to last you (and a friend or two) for a good long time.
If you don’t want to deal with making them yourself (or don’t know what you’d do with 10 sleeves): We’ll happily make them for you and ship them free. All you’ll have to do is peel, roll, and stick. Done.
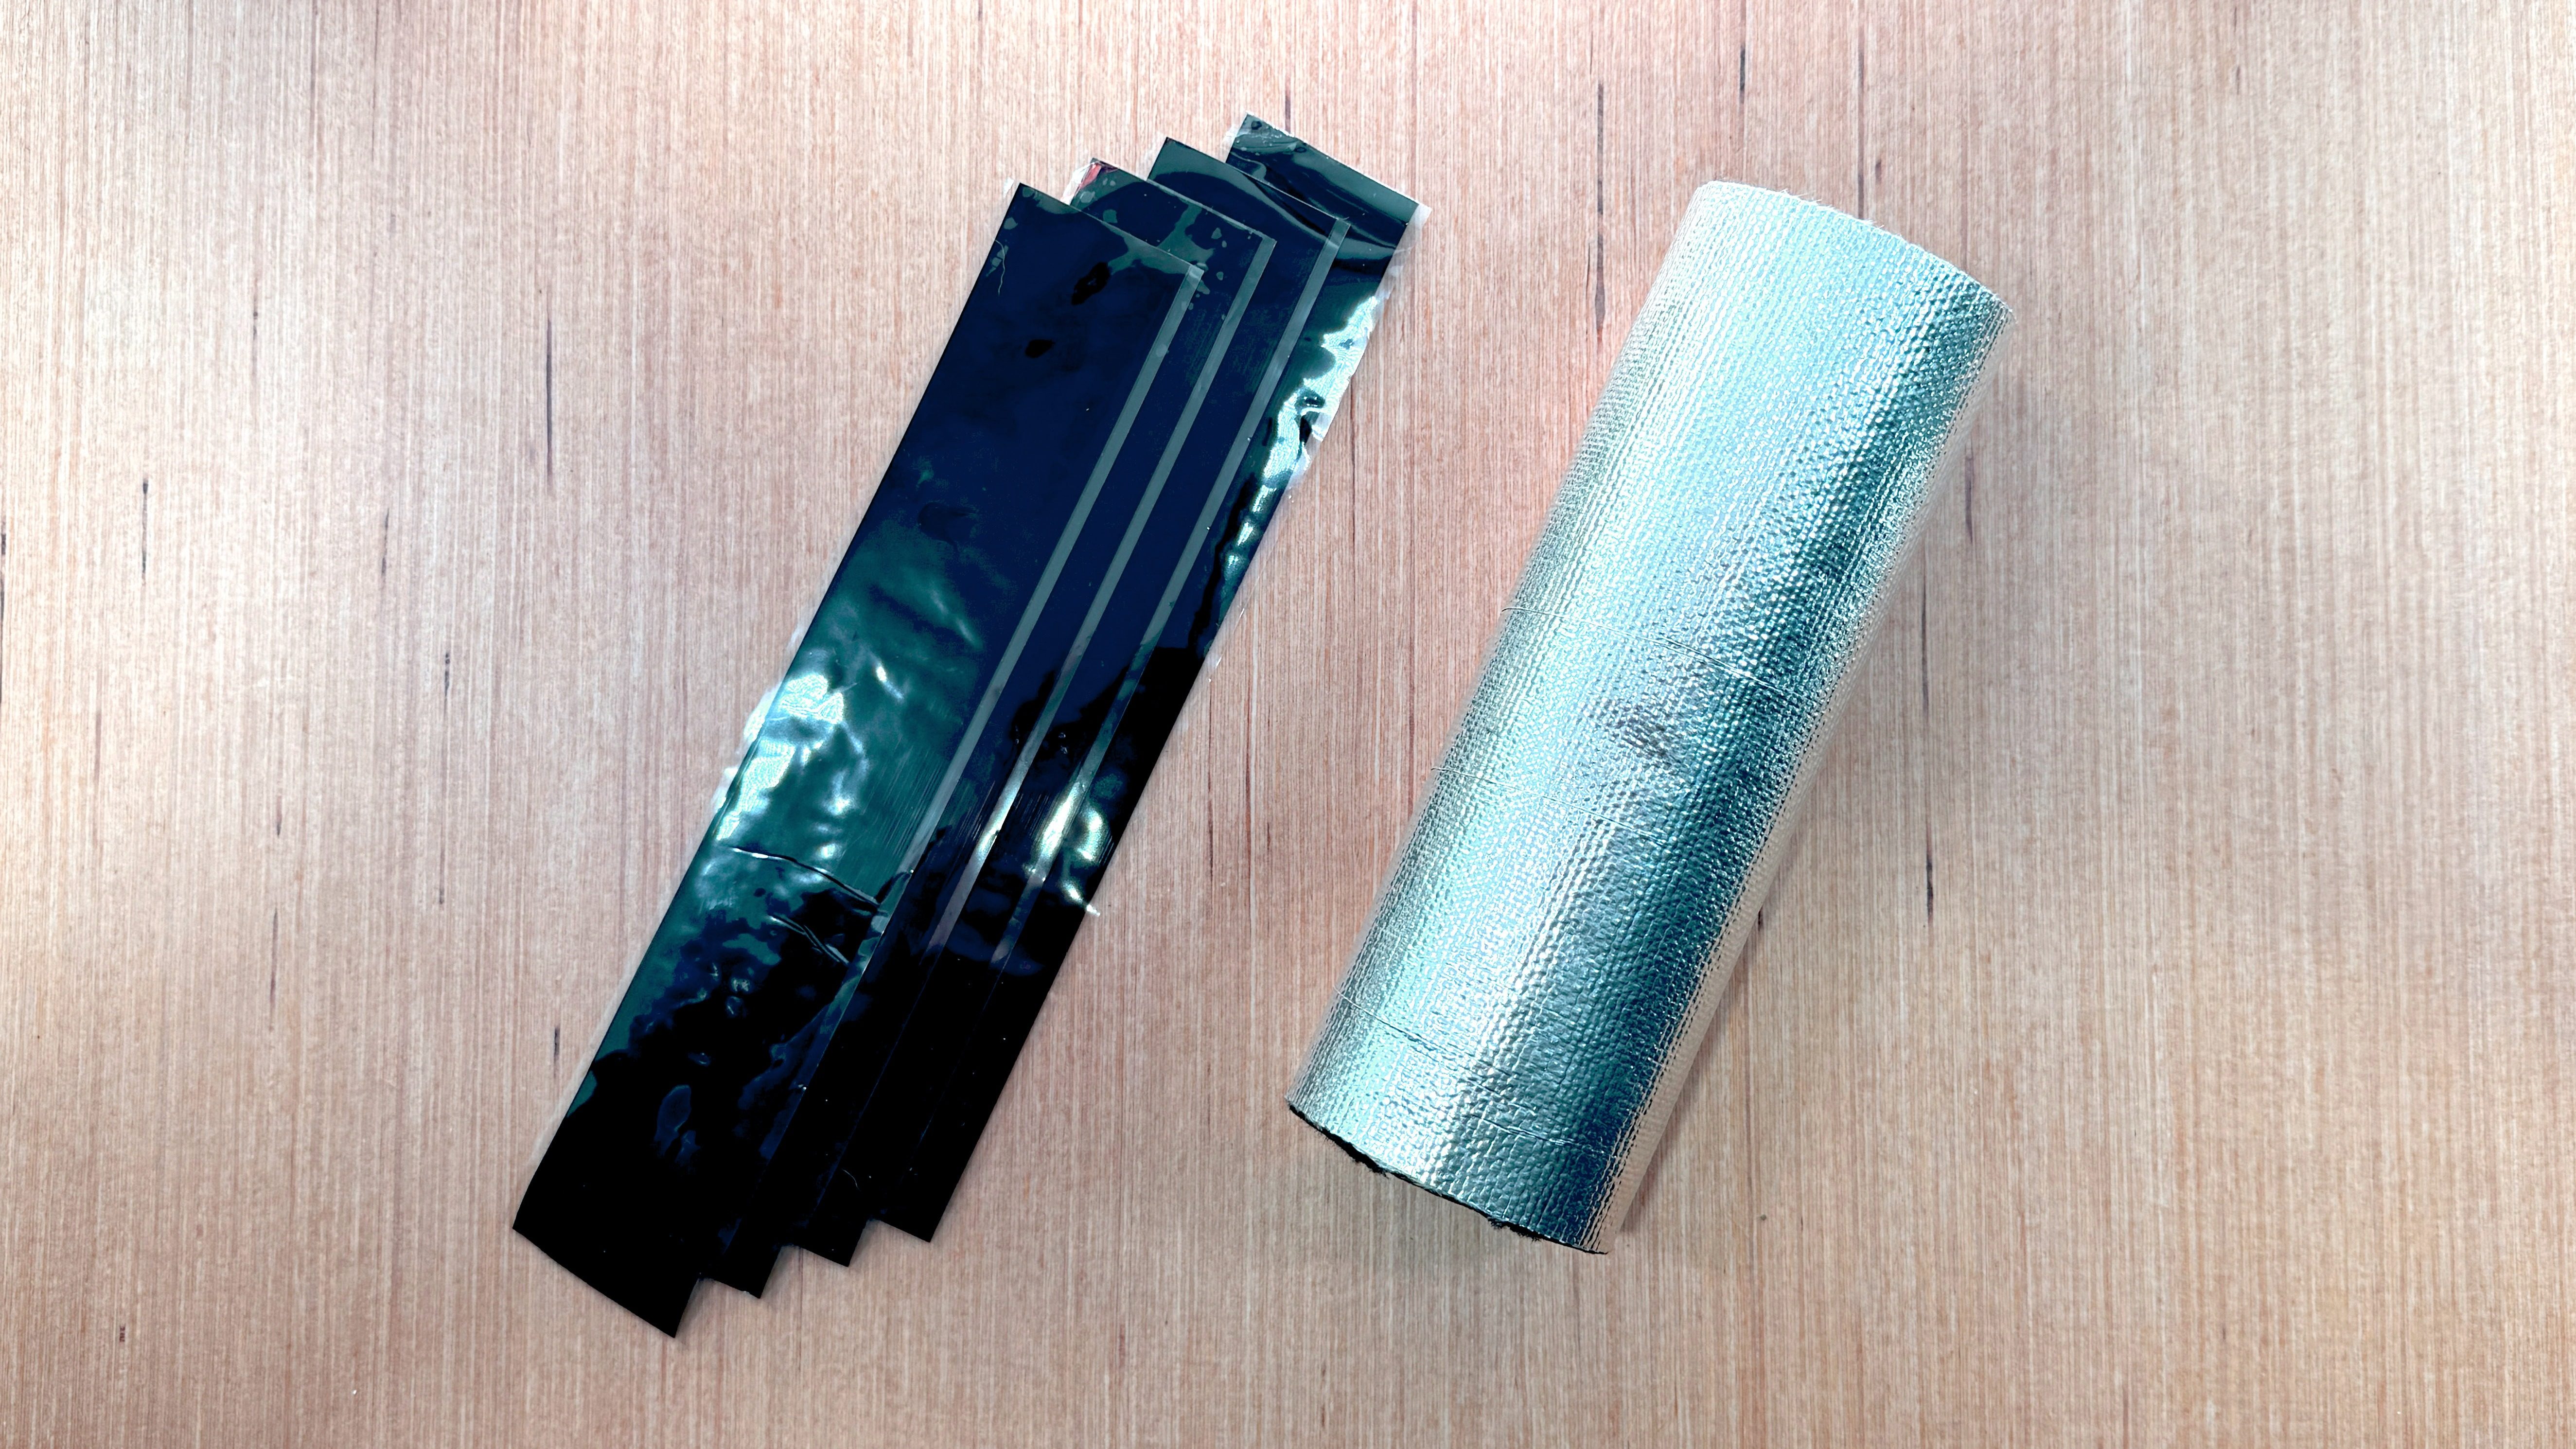
N2 Series 2
Single injector
$20 Free shipping
- Cut to fit N2 Series 2 single injectors
- Ready to roll on: no measuring or cutting
- 4 strips of silicone tape per sleeve: 2 for the ends, plus 2 spares
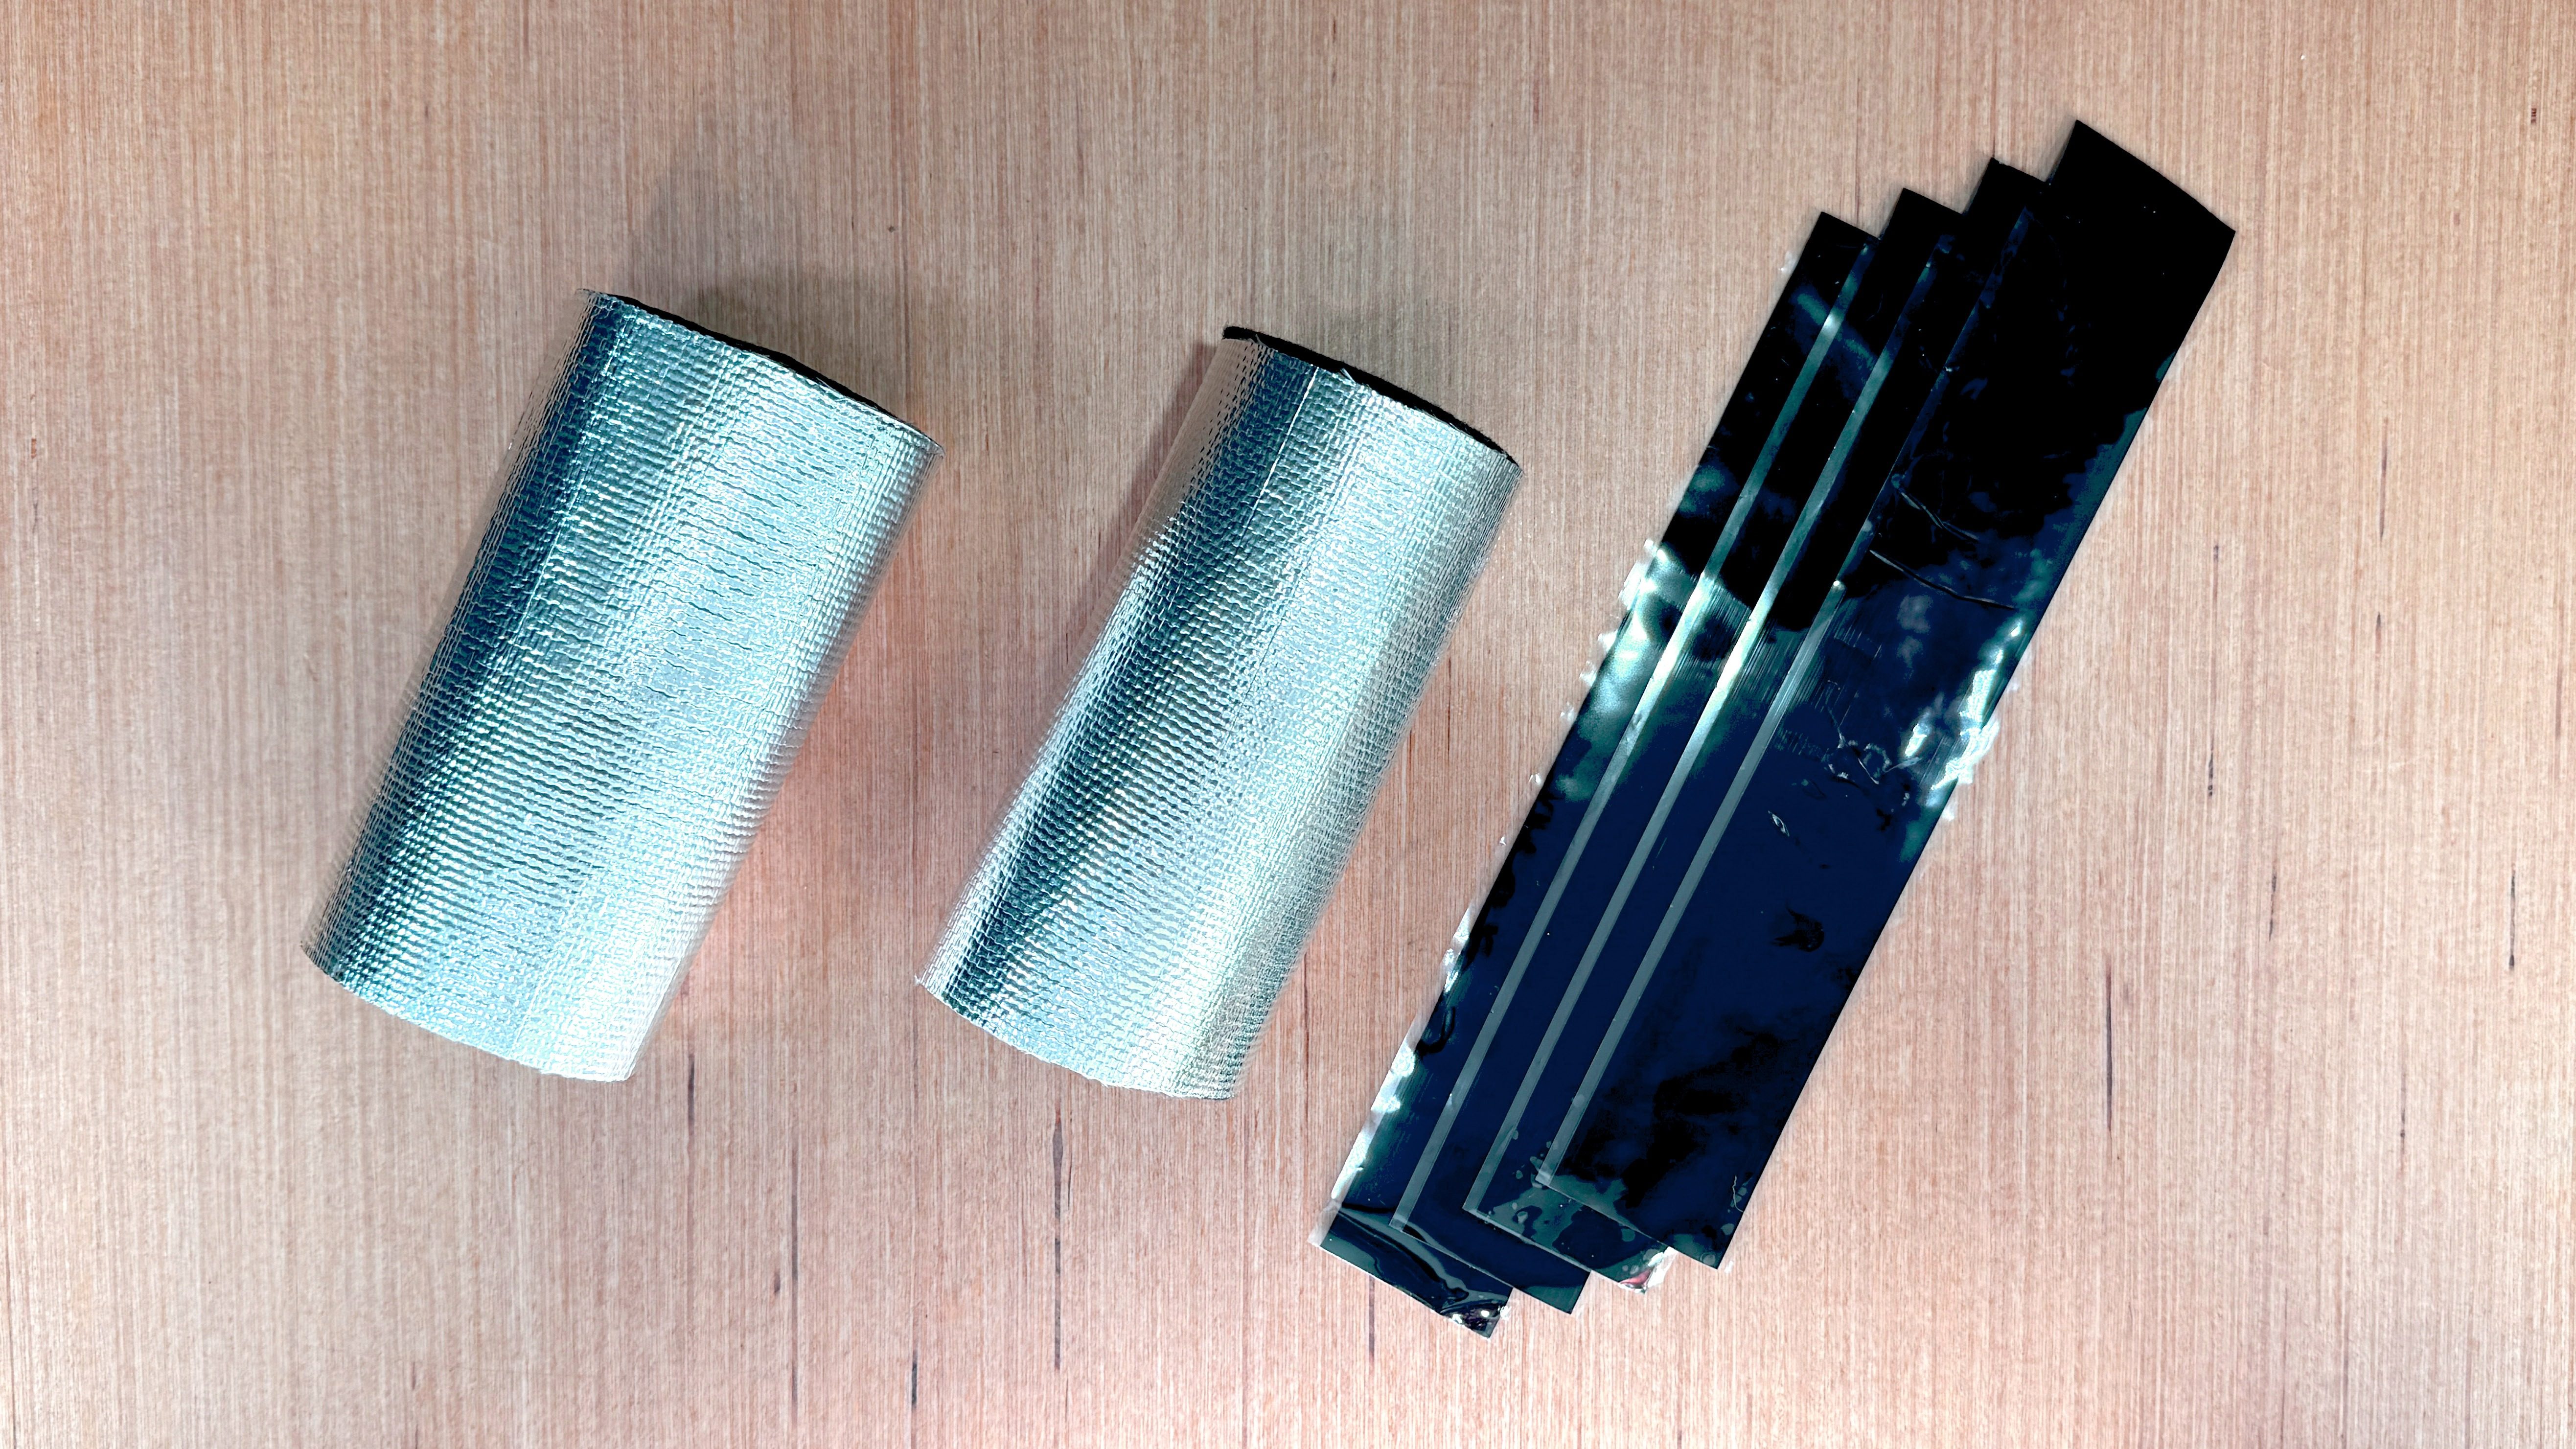
N2 Series 2
Dual injector
$25 Free shipping
- Cut to fit N2 Series 2 dual injectors, 2 sleeves per kit
- Ready to roll on: no measuring or cutting
- 4 strips of silicone tape per kit: 1 for the bottom of each sleeve (the crossbar holds the top), plus 2 spares
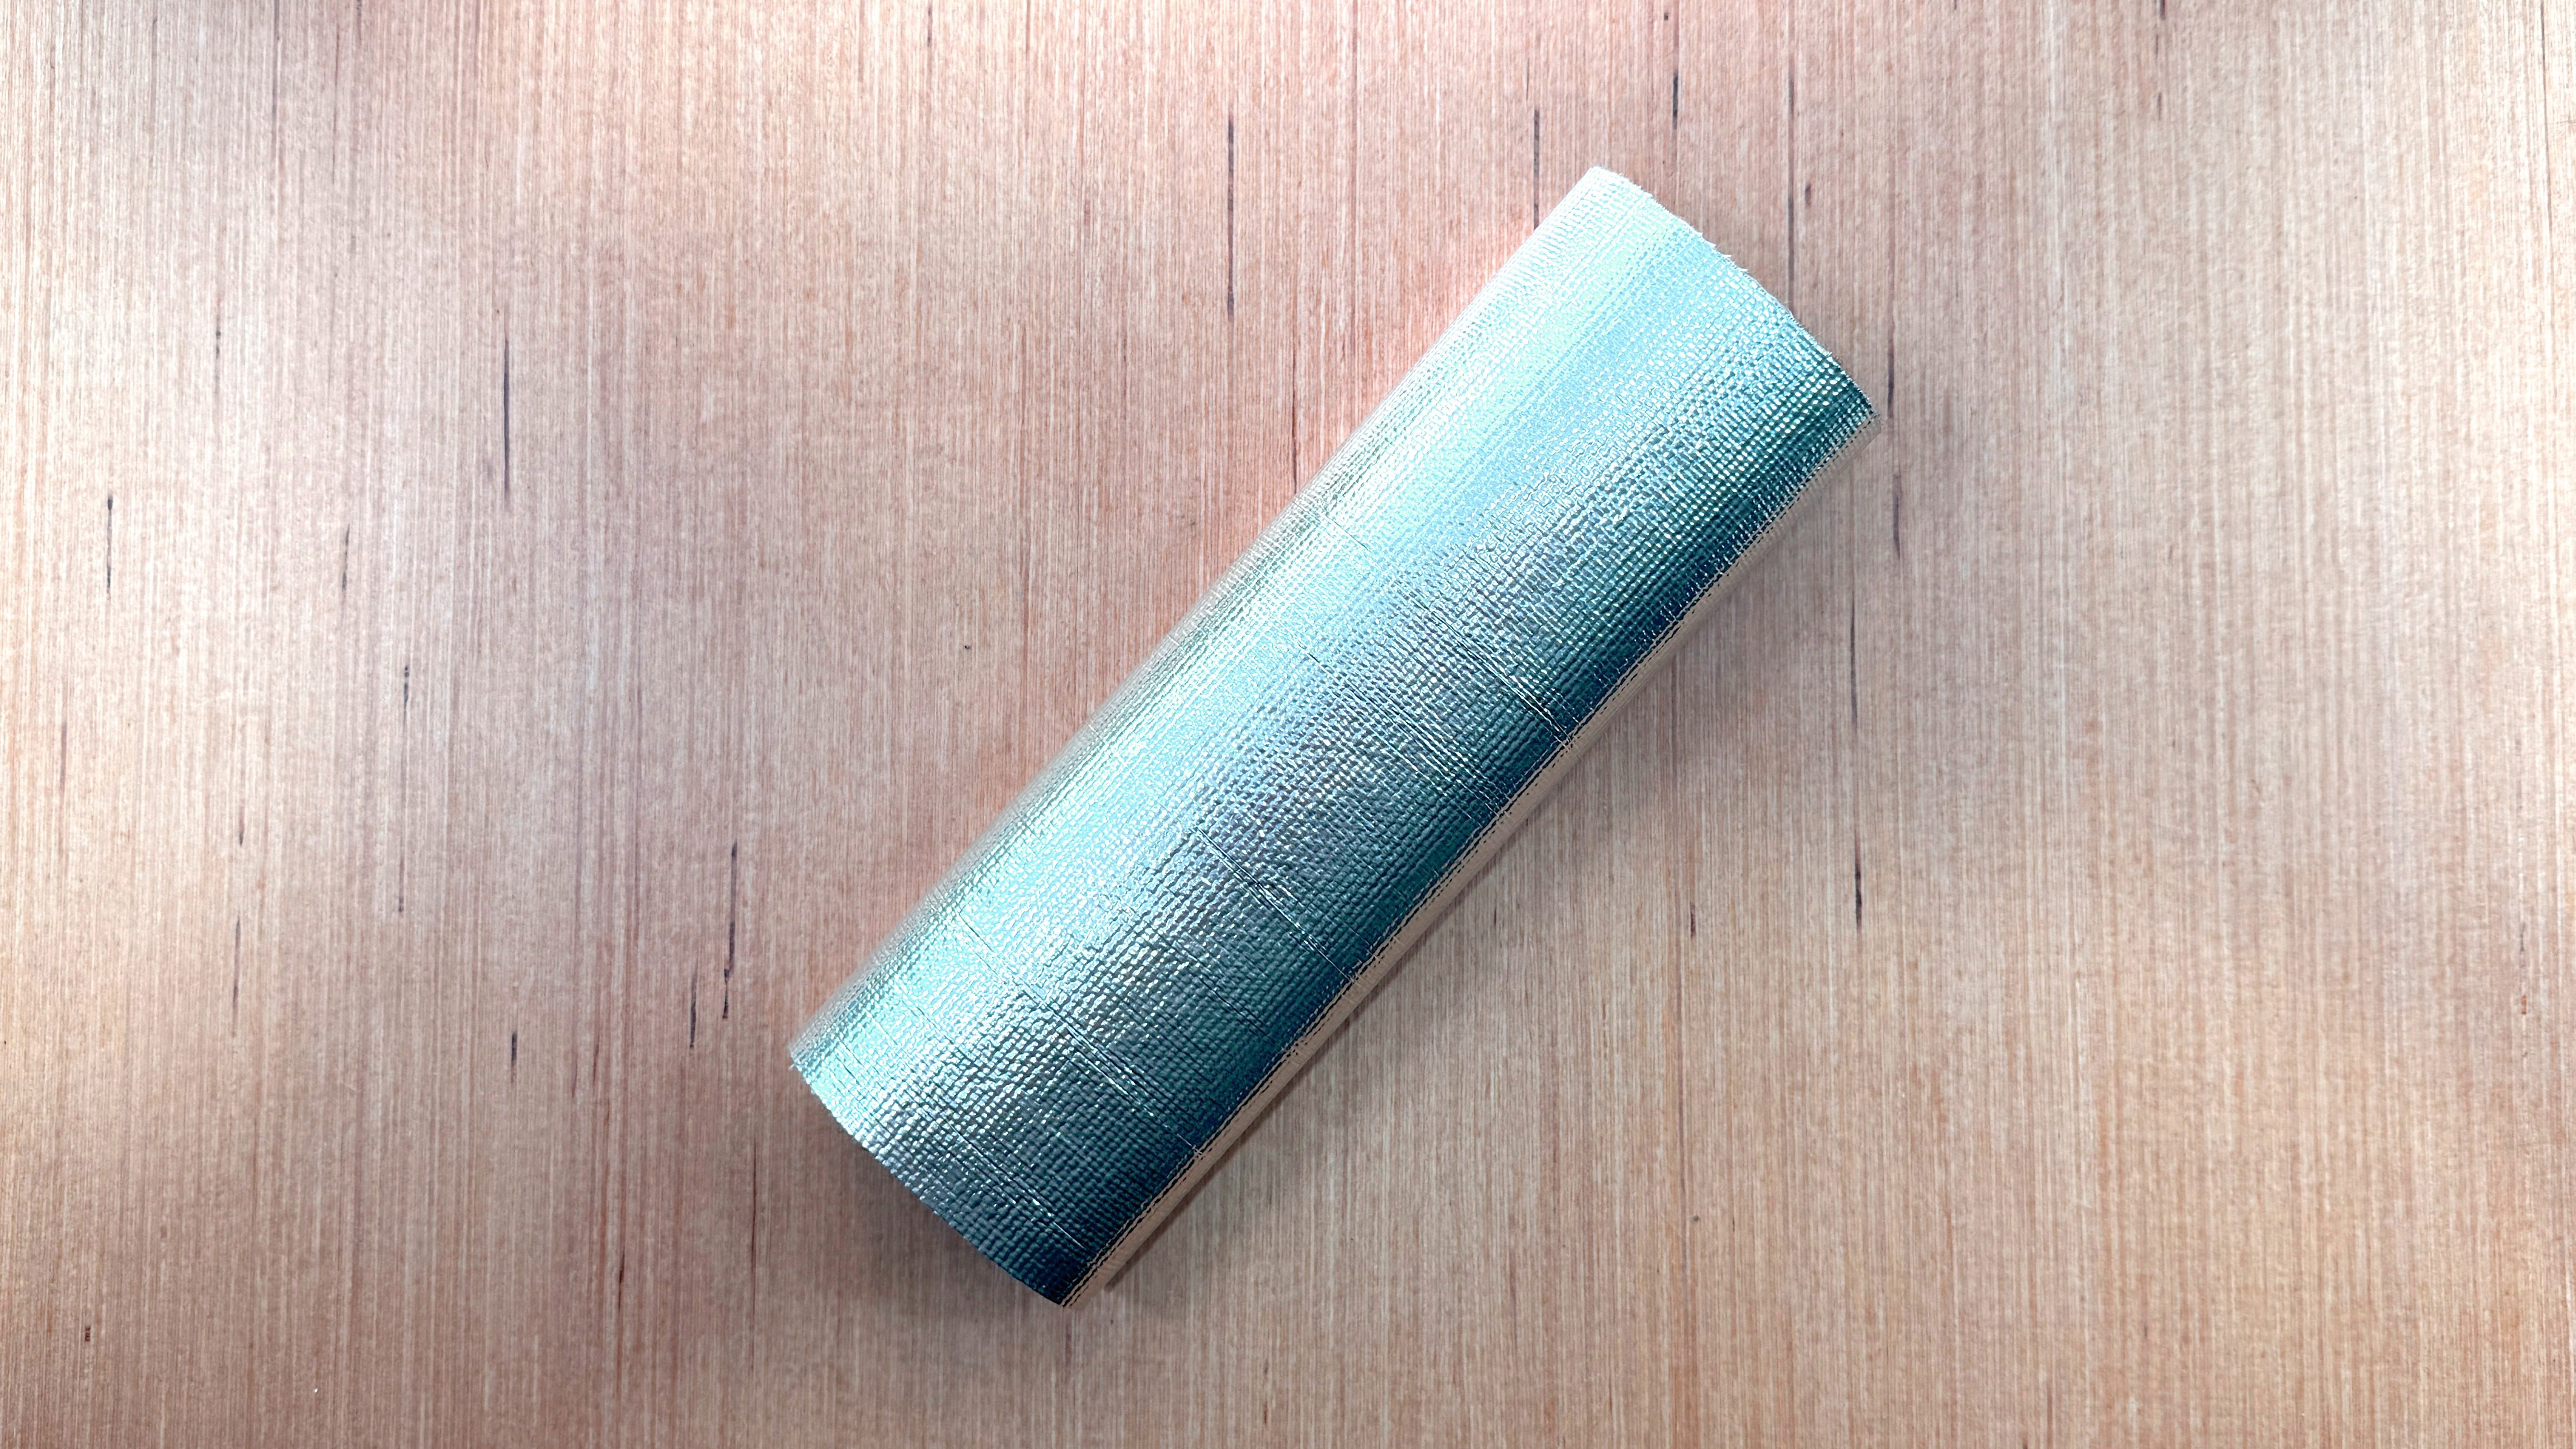
Ultra Molds
Shooting Star 8 oz
$20 Free shipping
- Cut to fit 8 oz Shooting Star injectors
- Ready to roll on: no measuring or cutting
- No tape needed: the end plates hold it in place
Any other injector
Custom size
Ask us Free shipping
- Cut to fit your injector’s barrel
- Single or dual injectors
- Send us a few measurements and we’ll make them to order
Don’t see your injector in the options list? Contact us and let us know your barrel size, and we’ll make one for you! Here’s what we’ll need:
- Your injector’s brand, model, and size, and whether it’s a single or a dual.
- The distance around the bare barrel. You can use a sewing tape measure or wrap a strip of paper around it, mark where it meets, and measure the paper.
- The length of bare barrel between the hardware at each end. For a dual, measure from the nozzle end up to the crossbar.