A note about links: If we include links to retail sites like Amazon or elsewhere, it's because we either use the items ourselves in our own shop or they're relevant to the topic. As an Amazon Associate we earn from qualifying purchases.
Why adding spouts is worth it
I love being a bait maker for a ton of reasons, but dealing with the mess that inherently comes with handling, storing, and working with plastisol is not one of them. If you haven’t noticed by now after reading some of my other journal posts, I try my best to keep a tiny workspace and clean-ish shop. That means I’m always looking for areas of my workflow where I can minimize mess, and with plastisol, there are A LOT of areas to look at.
One of those areas is clean and convenient storage. No one wants to be messing around with five-gallon buckets every time they want to do a simple test pour or have some fun with color formulation. For those cases, I keep at least three gallons (soft, medium, and hard) of plastic in my cabinet and ready to go. Even those smaller sizes can be cumbersome to pour and work with, and are definitely still prone to drips and making messes (especially if you’re working with a full gallon jug).
To solve those problems, I started adding simple and cheap spouts to all my gallon jugs. Here’s how I do it…
What you need
- A 1-gallon F-style jug. I get mine from LureWorks.
- A spout. They come in two-packs on Amazon, and the kit has the O-rings and the nuts.
- A drill.
- A step drill bit that goes to 3/4 inch. This is the bit kit I use.
- A center punch.
- Sharp scissors. I have these super sharp and precise scissors that do the job perfectly.
- A utility knife, to trim off any burr on the cap, and the seal if you don’t have good sharp scissors. I didn’t need it this time, because the burr on the cap came off clean and my scissors handled the seal.
How to add the spout
Drill the cap
- Remove the safety ring from the cap. Take the cap off the jug and pull off the thin safety ring around its bottom edge. It’s unnecessary: it’s there if you want to seal a jug for resale, so the customer knows it hasn’t been tampered with. In this case, you are the customer, and it’ll just come off the first time you unscrew the lid again anyway.
- Mark the spot for the pilot hole. Use the center punch on the top of the cap to mark the center.
- Drill the pilot hole from the top. Start the step bit on your mark and drill to the 1/4-inch step.
- Flip the cap over and drill the rest from the inside, up to 3/4 inch. Don’t go over that! The inside of the cap is lined with a seal that comes with the jug. Drilling this part from the inside keeps the seal from warping and shredding, so you can reuse it in the finished cap.
Clean up the seal
- Pop the seal out of the cap. You may need to use the utility knife tip to pry it out along the edge.
- Trim the burr. Drilling leaves a ragged burr around the hole in the seal. Trim it off with scissors until the hole is clean and smooth.
- Check the cap for a burr, too. If there’s one around the hole, trim it off with the utility knife. Mine came off clean this time.
- Clear the shavings out of the cap.
Install the spout
- Add the outer O-ring. Slide one O-ring onto the spout’s threads, all the way up against the spout.
- Twist the spout into the cap from the top until the O-ring sits flush against the top of the cap.
- Put the seal back in the cap, over the spout’s threads.
- Add the inner O-ring over the threads, on top of the seal.
- Hand-tighten the nut onto the threads.
Put it on the jug
Screw the cap onto the jug. If it goes on crooked, hand-tighten it and it straightens right out.
Filling your jug
- Set up on a silicone mat. Put your bucket of plastisol and the empty jug on a silicone mat.
- Pour it in through a funnel. Set a funnel in the jug’s mouth and pour the plastisol in from the bucket.
- Screw on the cap with the spout.
I use this funnel, and it’s awesome and excellent for this job. It fits the wide-mouth jug securely and makes pouring from the five-gallon bucket (or using a cup or scoop) much cleaner and easier. It also comes with a plastic mesh filter to keep any unexpected macro impurities out.
Mix it before you pour
If you’re new to bait making, this is your reminder that your plastic needs to be well stirred or mixed before use.
If the plastisol blend you’re using tends to separate significantly (some of the popular Bait Plastics blends tend to do this in my experience), you’ll want to remove the cap and use a stir stick of some kind for a minute before use. These days I personally either use long, 12” borosilicate glass stirring rods if the plastic is lightly separated, or a long paddle* and drill if there is more significant separation. Just be careful with your drill speed for a jug that’s on the full side, and know that the glass rods are super easy to clean while the paddle is a little more mess-prone.
I’ll probably take heat for this, but if your plastisol blend doesn’t separate much and/or the jug is less than half full, I’ve discovered it’s fine to just shake the jug vigorously for 10-15 seconds instead of stirring as long as you plan to put your plastic through a vacuum chamber session afterwards. The only reason anyone says “never shake the bottle!” is because it introduces air bubbles. The vac chamber takes care of that, and you should be vac’ing your plastic anyway. It’s a win-win.
*Paddle hack to fit the LureWorks jugs: I have yet to find a helix-style drill mixing attachment with both a 10+ inch shaft (to comfortably reach the bottom of a gallon jug) and a 2-inch-wide blade (to fit the wide-mouth spout) for the LureWorks jugs and others like them. I had an unused Edwards Tools paint mixer hanging out in our paint supplies drawer here in the garage that has a shaft long enough, so I took my heavy-duty shears (I love these things) and snipped about 1/4 inch off each blade tip so it fits the wide-mouth jugs. This little hack has proven to work really well.
Pouring from it
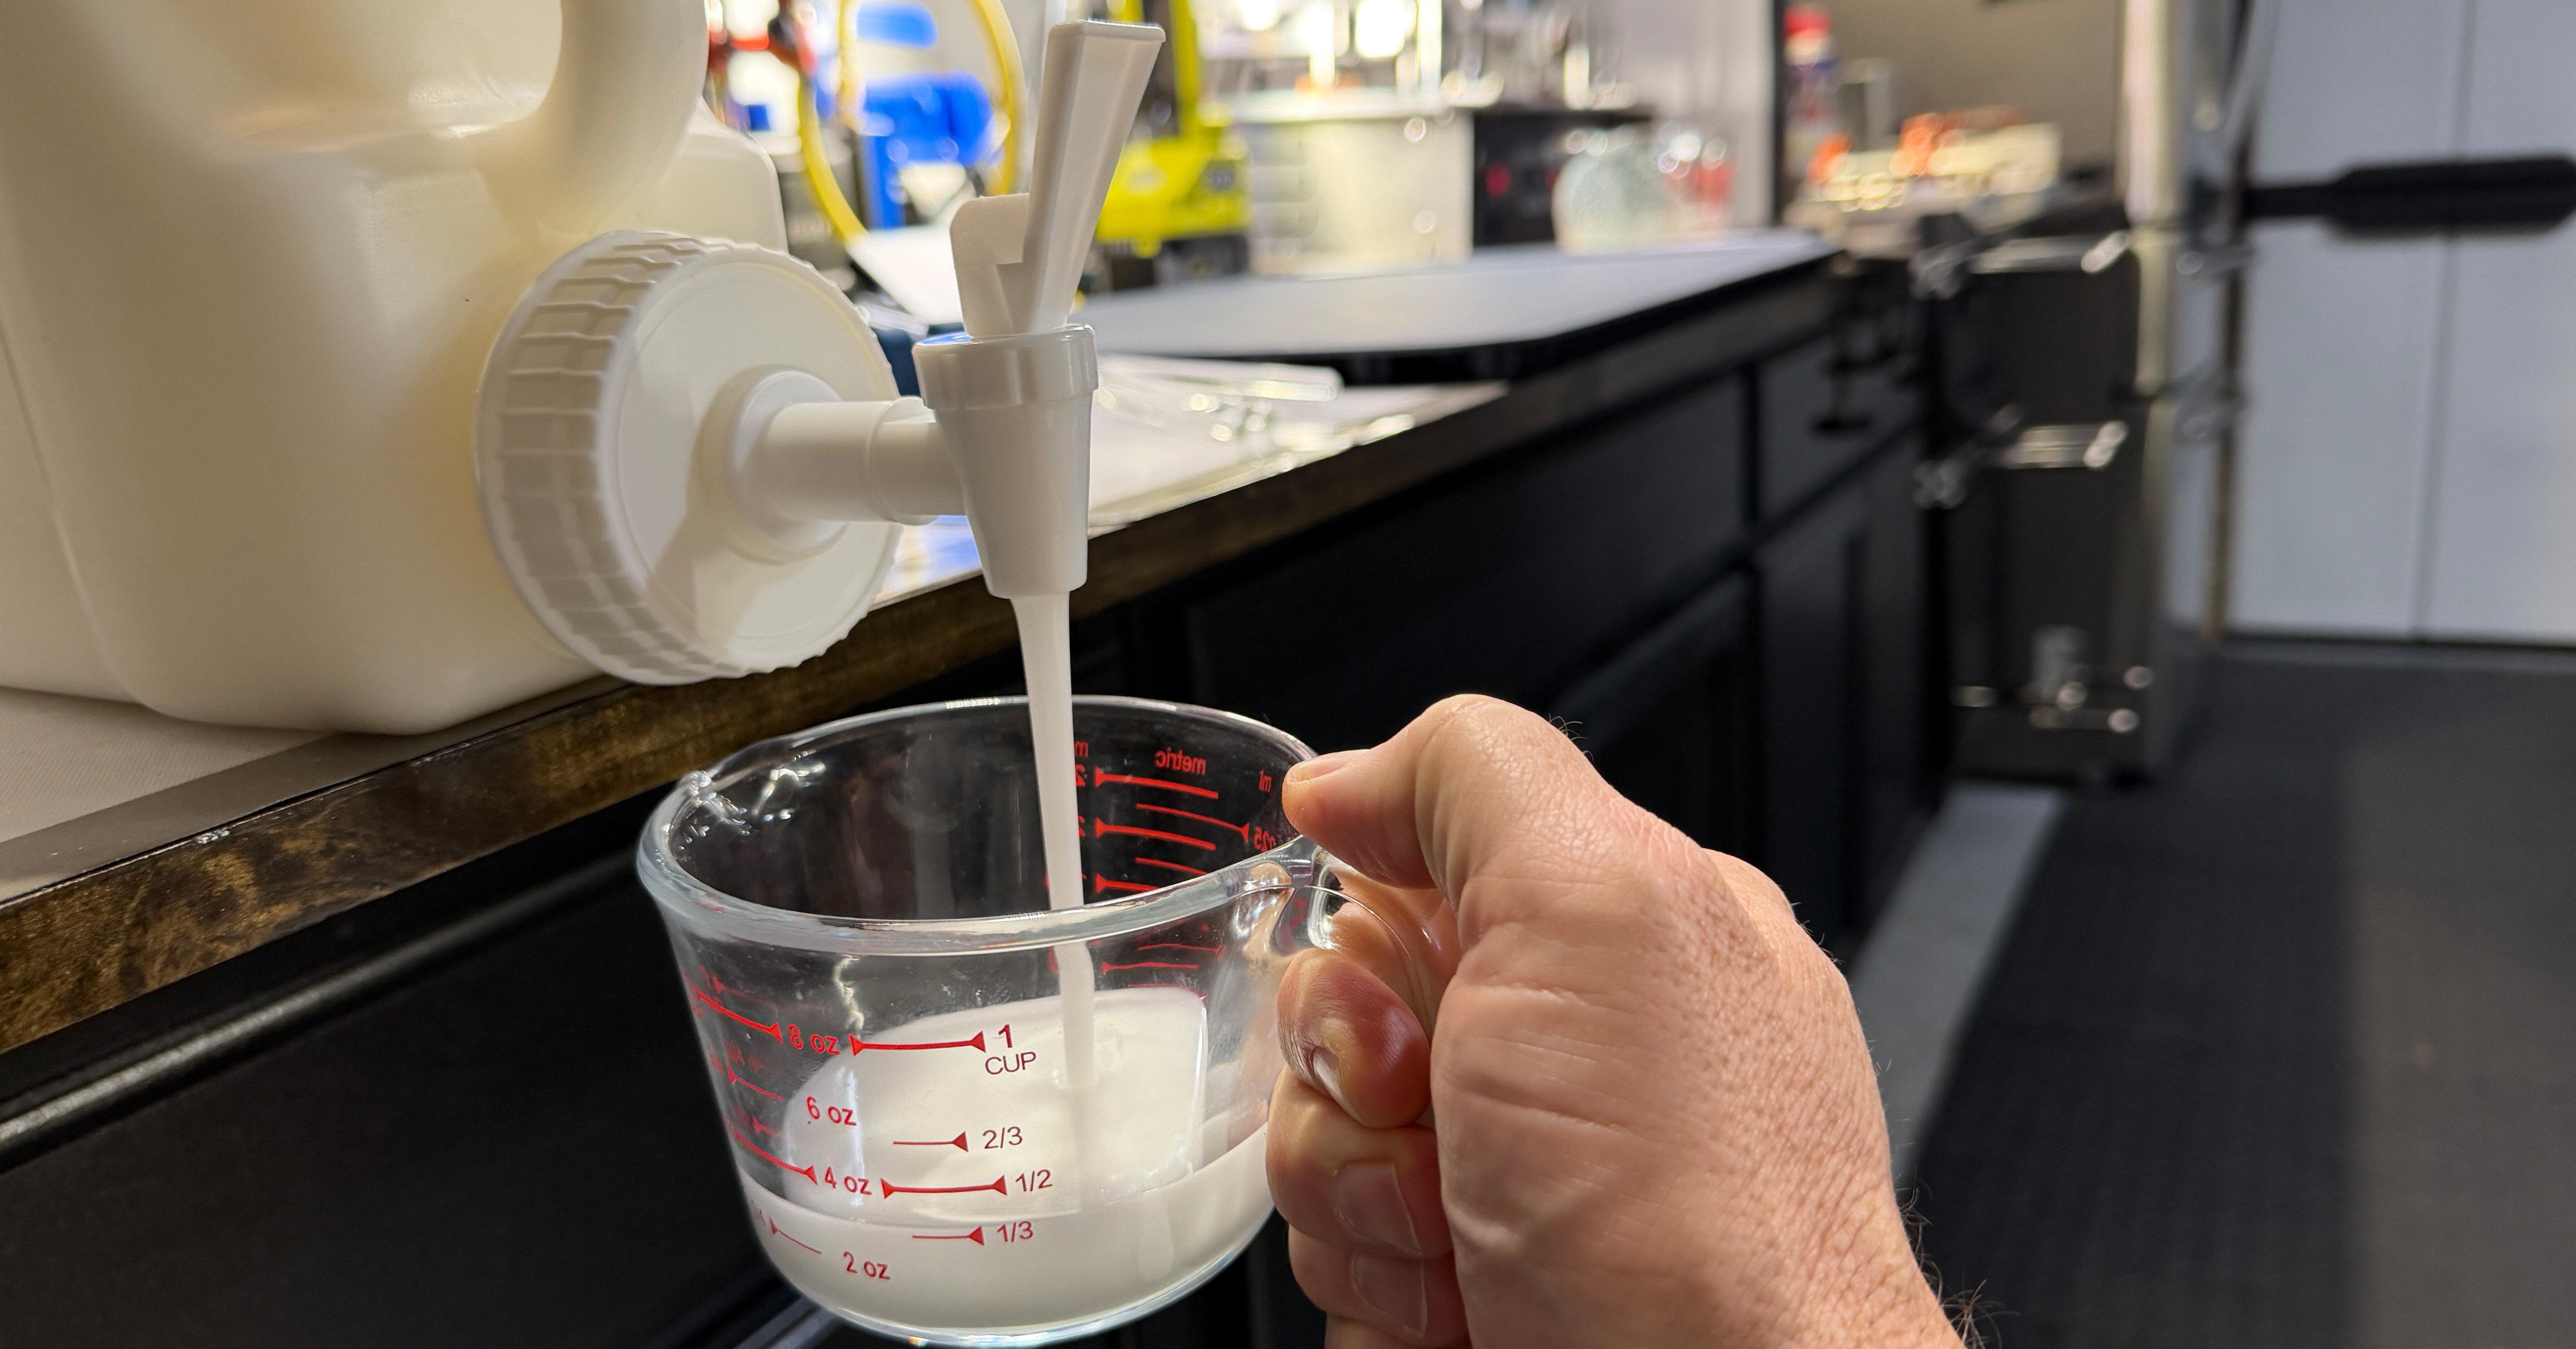
I store the filled jugs upright, cap up, in my cabinets under my workbench. When I need more plastic, I take the jug out, give it a stir or shake (see above), and place it on the cabinet on its side, spout down, so I can draw plastic from it.
I love the control the spout gives you. You can pour a little or a lot, fast or slow, and measure out exactly what you need. It takes what used to be a mess-prone chore and turns it into a simple, clean, drip-free job.